


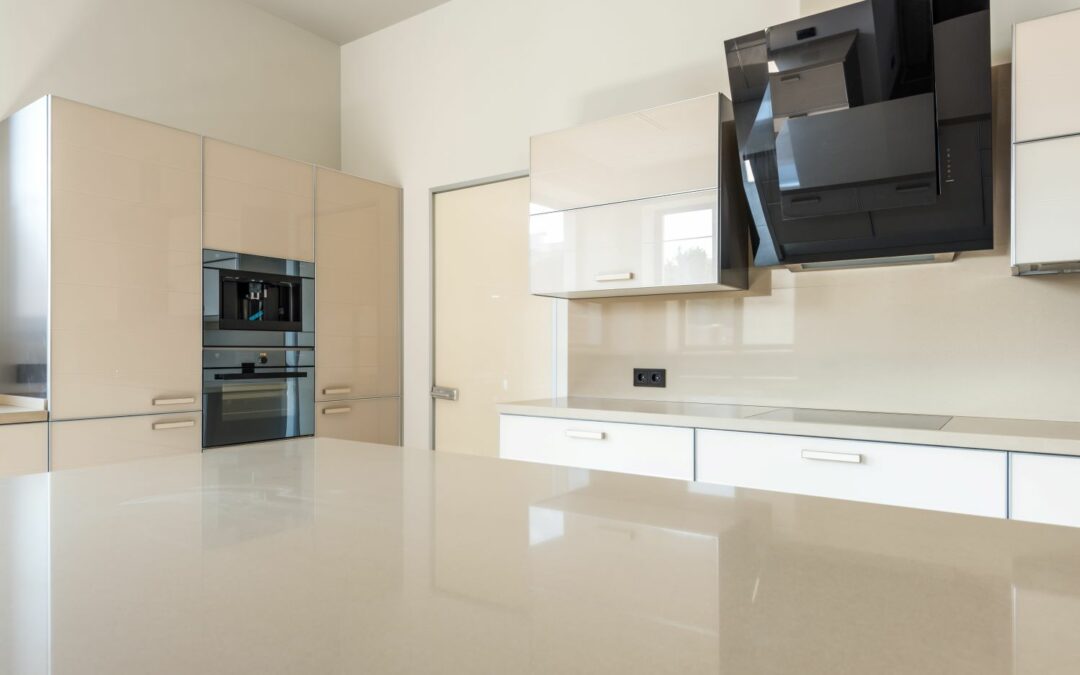
High-gloss paint for cabinets can create a smooth and reflective finish that enhances the appearance of kitchens, bathrooms, and other interior spaces. Proper preparation is fundamental for achieving even coverage, strong adhesion, and long-lasting results. Here is more information on how to prepare cabinets for high gloss paint:
Remove Doors and Hardware
To use high gloss paint for cabinets, start by taking the cabinets apart and work in a logical order to make reassembly simple. Remove each door with a screwdriver or drill, then set the hinges, knobs, and pulls in labeled bags. This step prevents lost parts, and it keeps your project organized.
Number every door and its matching frame with a piece of painter’s tape. When you reinstall the doors later, the labels guide you back to the exact placement, and the hinges line up without guesswork. A methodical teardown saves time, and it can protect the alignment that a high-gloss surface will later reveal. Detached doors also give you flat access to every panel. You lay them horizontally, which can help the paint settle into an even and drip-free layer.
Clean and Repair Surfaces
Kitchen cabinets collect grease, dust, and fingerprints that block paint from bonding. Clean each surface with a degreaser, wipe it down with a damp cloth, and let it dry completely before moving forward. A clean base is fundamental and prevents contaminants from ruining the finish. Here is a short checklist to guide your cleaning and repair:
- Degrease every panel: Grease repels paint, so a thorough wipe-down helps the primer grip the surface.
- Fill imperfections: Wood filler levels dents and holes, and it prevents shadows under the gloss.
- Remove old caulk: Cracked caulk lifts over time, so replacing it keeps edges crisp.
- Check for loose joints: Tighten or glue any wobbles to stabilize the frame before painting.
Following these steps methodically can produce a smooth and durable finish that enhances the longevity and appearance of your project.
Sand and Prime Cabinets
Sanding creates the texture that helps paint and primer stick. Use medium-grit sandpaper first, then switch to a finer grit for a smooth touch, and wipe away the residue with a tack cloth. Patient sanding is fundamental; it can remove the sheen from any existing coat.
Once the surface is smooth, apply a bonding primer suited to cabinets. Primer seals the wood, blocks stains, and gives the color coat a uniform base to grip. A quality primer can improve durability and reduce the number of top coats you need. Let the primer dry, then run your hand across each panel to find rough spots. Sand those areas lightly, wipe again, and confirm the surface is uniform before applying the gloss.
Create a Dust-free Space
High-gloss paint captures airborne particles the moment they land, so a clean workspace matters more here. A controlled space is key, and it keeps stray debris out of your wet paint. Here are some key practices that can keep the environment stable during application:
- Seal the room: Closed doors and covered vents block drafts that carry dust.
- Control humidity: Stable moisture levels can help the paint cure evenly.
- Filter the air: A portable air purifier can capture fine particles before they settle.
- Limit foot traffic: Fewer people in the room means less disturbed dust.
Adhering to these measures can support a smooth and efficient painting process with optimal results.
Explore High Gloss Paint for Cabinets
Preparation influences the outcome of any high-gloss project. You remove the doors and hardware, clean and repair the surfaces, sand and prime the wood, and set up a dust-free space. These create an optimal environment for applying high-gloss paint, and they promote a smooth and mirror-like finish that enhances the appeal of your cabinets. Contact a premium paint producer near you to explore high-gloss paint for your cabinets today.
